Designer Quick Start Guide
Designer is an educational interactive graphics Python library. What does that mean?
As a student, you can use Designer to learn and practice Python by creating output of pictures and basic animations.
Let’s look at some code to get us started.
Once you’ve installed Designer, you only need two lines of code to get started:
from designer import *

draw()
These two lines of code create an external blank white window to appear. You will generally always need these two lines of code for Designer to function. Let’s fill in some code in between.
0. Overview
We can add visual elements, called DesignerObjects, to personalize our output. A DesignerObject is any graphic representation to add to the window.
For example:
A bright orange circle is a DesignerObject.
An image of your favorite animal is a DesignerObject.
A diagonal blue line is a DesignerObject.
You can use and pass around DesignerObjects as arguments to the draw() function to add the DesignerObjects
you make to the window.
What are some DesignerObjects?
1. Shapes!
You can make lines, circles, rectangles, ellipses, arcs, or any general polygons with at least three sides.
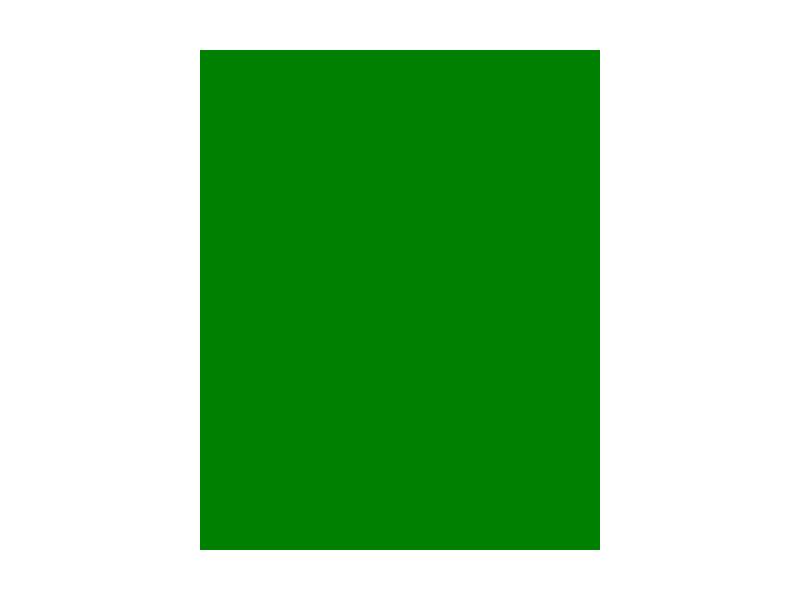
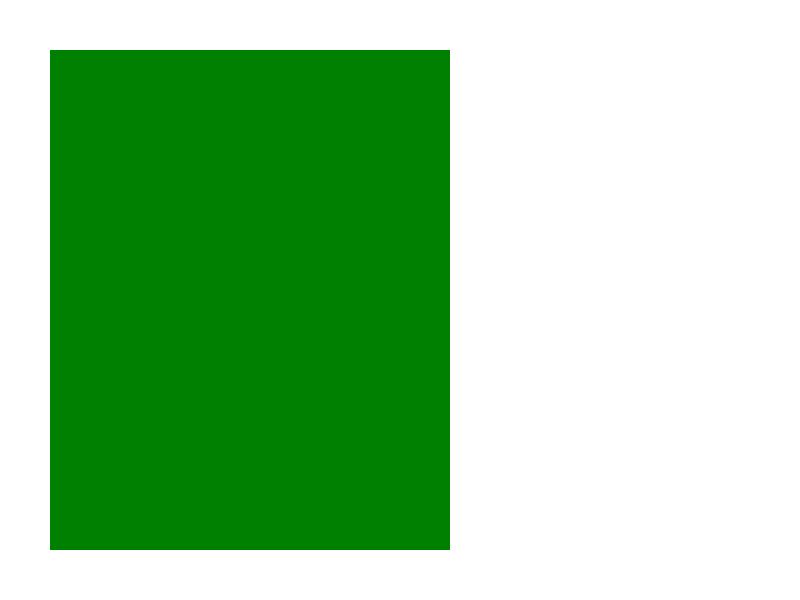
Let’s look at the code and output for making a rectangle:
from designer import *

green_box = rectangle('green', 400, 500)
draw(green_box)
Let’s take a closer look at that rectangle('green', 400, 500) part.
The function, rectangle, creates and returns a rectangle “Designer Object” when called.
The call has three arguments:
"green", is the color the rectangle will be400is the width of the rectangle in pixels600is the height of the rectangle in pixels
The window operates on an x, y plane, where (0, 0), is the top left of the window. Moving to the right on the window increases the x value and moving down on the window increases the y value. By default, Designer places images in the center of the window.
2. Images!
You can add your own images in two different ways: #. The file path to an image on your computer #. The URL (or link) to an image on a website
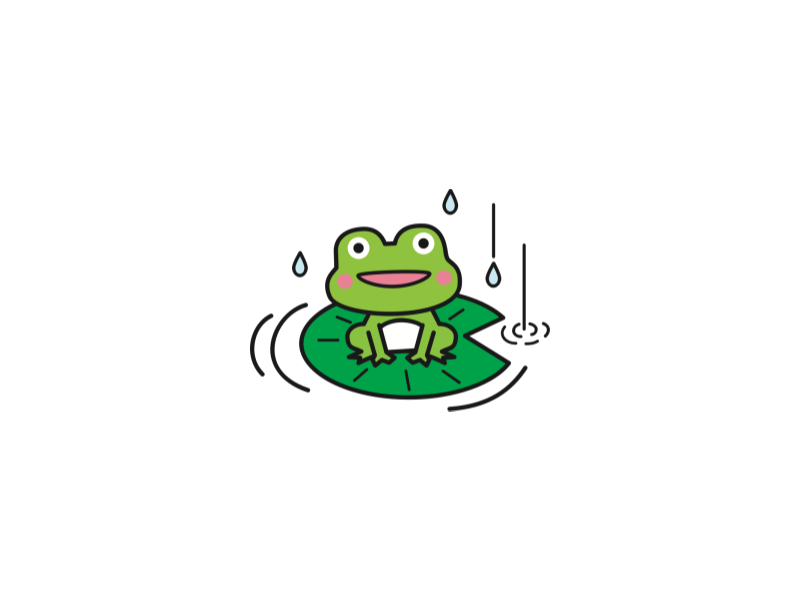
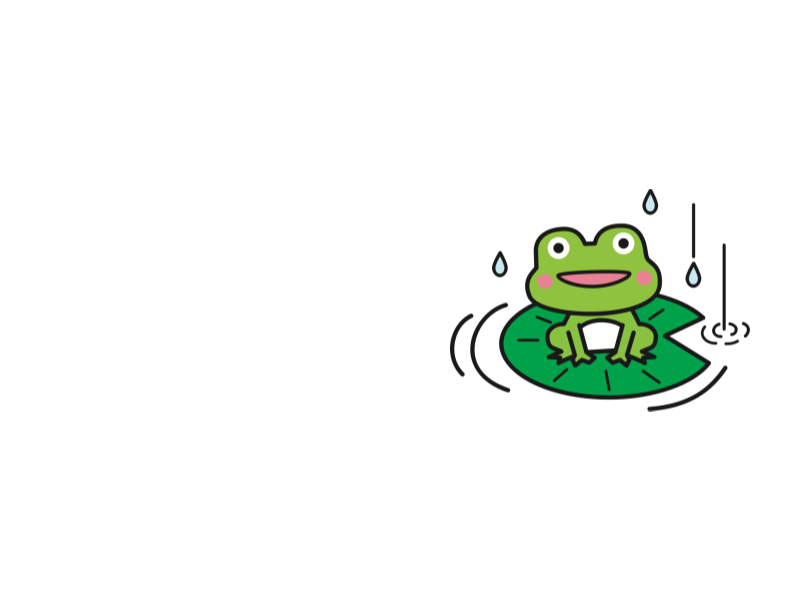
Let’s use the link to this frog image.
from designer import *

frog = image("https://i.imgur.com/HRB9pqu.png")
draw(frog)
Just like before, the image function creates and returns an image DesignerObject that we can then draw.
The first argument of image can be a string representing a url to an image, such as in this example.
Or, it can be a string of a file path to an image - but then that file must be on your computer!
If you don’t have your own image, then you can also use the emoji function to load a built-in image from our library.
These images are just like the emojis that you send in other messages. You can either use the emoji itself ("🐸") or, if you
know its name, you can use that instead ("frog").
There are websites where you can easily find big lists of emojis, like this
from designer import *

frog = emoji("frog")
# Alternatively:
# frog = emoji("🐸")
draw(frog)
Don’t worry if the emoji seems small, we’ll learn how to make it bigger in just a bit!
3. Text!
You can add any string to the window.
from designer import *

hello = text("blue", "Hello World!", 40)
draw(hello)
The function, text, creates and returns a text DesignerObject.
The first argument,
"blue", is the color the text will be.The second argument,
"Hello World!", is the text to add to the window.The last argument,
40, is the size of the text’s font.
4. Scaling
We mentioned before that we could make objects bigger. Let’s make the frog emoji from earlier 5x as big!
from designer import *

frog = emoji("frog")
grow(frog, 5)
draw(frog)
The grow function takes in two arguments in order to adjust the scale of an object, which stretches
or shrinks the image on screen.
The first argument, frog, is the Designer Object we created previously.
The second argument, 5, is the number of times that we want to grow the image.

5. Moving
What if you don’t want the image right in the middle of the window? Well, you can create the object in a different starting place by specifying the x and y parameters.
from designer import *

green_box = rectangle('green', 400, 500, 250, 300)
draw(green_box)
We have drawn the green box again, but this time we added two additional arguments:
The 250 represents the starting X coordinate of the box, the distance from the left side of the window
The 300 represents the starting Y coordinate of the box, the distance from the top side of the window
But what if we wanted to move the box AFTER creating it? Or if we wanted to move the box relative to the starting
position of the screen? Another choice is to use the change_x(object, amount) and change_y(object, amount)
functions, which move the object by a relative amount in the given direction.
from designer import *

frog = image("https://i.imgur.com/HRB9pqu.png")
change_x(frog, 200)
draw(frog)
The frog is now 200 pixels to the right of where it was before.
6. Rotating
There are many other ways to change the way a Designer object looks. For example, we can spin and rotate images just as easily as we move and scale them.
from designer import *

frog = image("https://i.imgur.com/HRB9pqu.png")
# Make the frog half as big
grow(frog, 1/2)
# Rotate the frog 45 degrees upwards
turn_left(frog, 45)
# Move the frog in its current direction 200 pixels
move_forward(frog, 200)

draw(frog)

7. Grouping Objects
There are many other functions for moving, rotating, and otherwise changing objects. There are also many other functions for creating Designer Objects. You can find a convenient list of all these functions on this Quick List page.
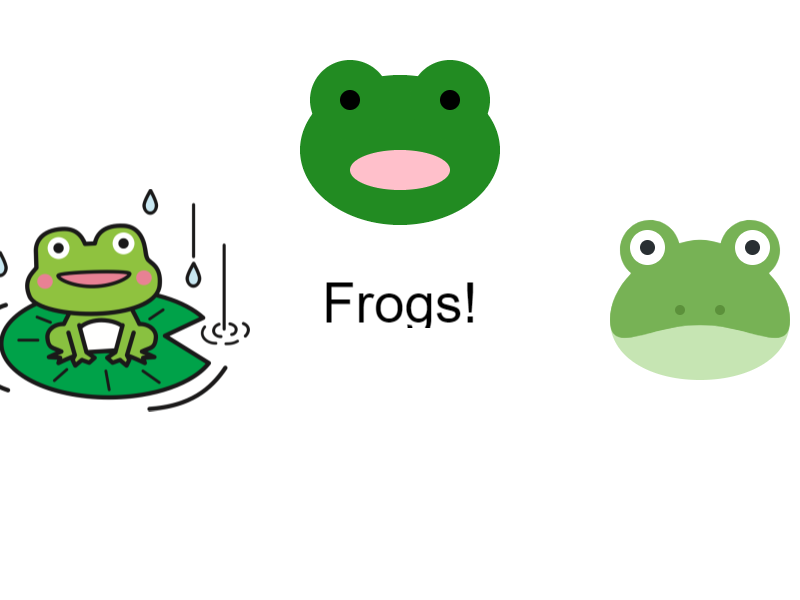
When you have a bunch of objects that you want to treat as a single image, you can use the group function to combine them together. Let’s make our own frog by using some of the other Designer functions.
from designer import *

# Put the other two frogs on either side for reference
frog_image = change_x(image("https://i.imgur.com/HRB9pqu.png"), -300)
frog_emoji = change_x(grow(emoji("frog"), 5), 300)

# Make the head of the frog
frog_head = ellipse("forestgreen", 200, 150)
# Two forestgreen eyes, on either side
left_eye = change_xy(circle("forestgreen", 40), -50, -50)
right_eye = change_xy(circle("forestgreen", 40), 50, -50)
# Little black irises, on top of each eye
left_eye_iris = change_xy(circle("black", 10), -50, -50)
right_eye_iris = change_xy(circle("black", 10), 50, -50)
# A big, wide pink mouth
mouth = change_y(ellipse("pink", 100, 40), 20)

# Combine all the pieces of the frog into a single group
my_frog = group(frog_head, mouth, left_eye, right_eye, left_eye_iris, right_eye_iris)
# Move the frog upward 150 pixels
change_y(my_frog, -150)

# Write the word "Frogs!" in the middle
message = text("black", "Frogs!", 50)

# Have to call draw with all the things we want to draw
draw(frog_image, frog_emoji, my_frog, message)
We’re doing a lot in this example, but we added explanations to each line.
First, we put the old emoji and image we had before on either side of the window, so we have a reference.
Then, we combine a bunch of different
circleandellipsecalls along withchange_xyto make the pieces of the frog head.Next we
groupall those pieces together into a singlemy_frogobject, which we can then move in bulk upwards 150 pixels.After that, we write the word “Frogs!” in the middle of the window.
Finally, we draw all four of our designer objects so we can see them.
As you try making your own drawings, keep in mind that every object you want to appear on the screen MUST be passed as an argument
to the draw function. Otherwise, the object won’t be visible!
8. Read on!
Check out the documentation of DesignerObjects to see all that you can add to your output! What will you design?